Pre-Check
First of all, a warning that this procedure is a knuckle-buster, so watch out. Now, to make sure that it is the starter that's out, here are a few electrical things to check. First, the ignition switch in the steering column. Pull out the plate under the steering wheel and you will find the switch on the driver side at the very top of the opening, it is the size of a silver dollar and about 3/4" thick, one screw is holding it, pull it out and check it for burn marks and corrosion, also you can check it with the ohms meter to see if the connection works well, just turn it and check that the parallel connections are good. If that is good, next check the clutch switch which is at the top of clutch pedal, actually there are two. You care about the one that is pressed while the clutch is pressed. Check for wear and burns, then you can check it by trying to turn on the car with the clutch pressed and depressed if the sound changes while you trying to start, that means it is good, but if you hear no change, it may be a problem, pull it out and do an electrical check. Last thing, some cars may have had alarms and they often use the cable that goes to the solenoid and that can be worn.
Getting Ready
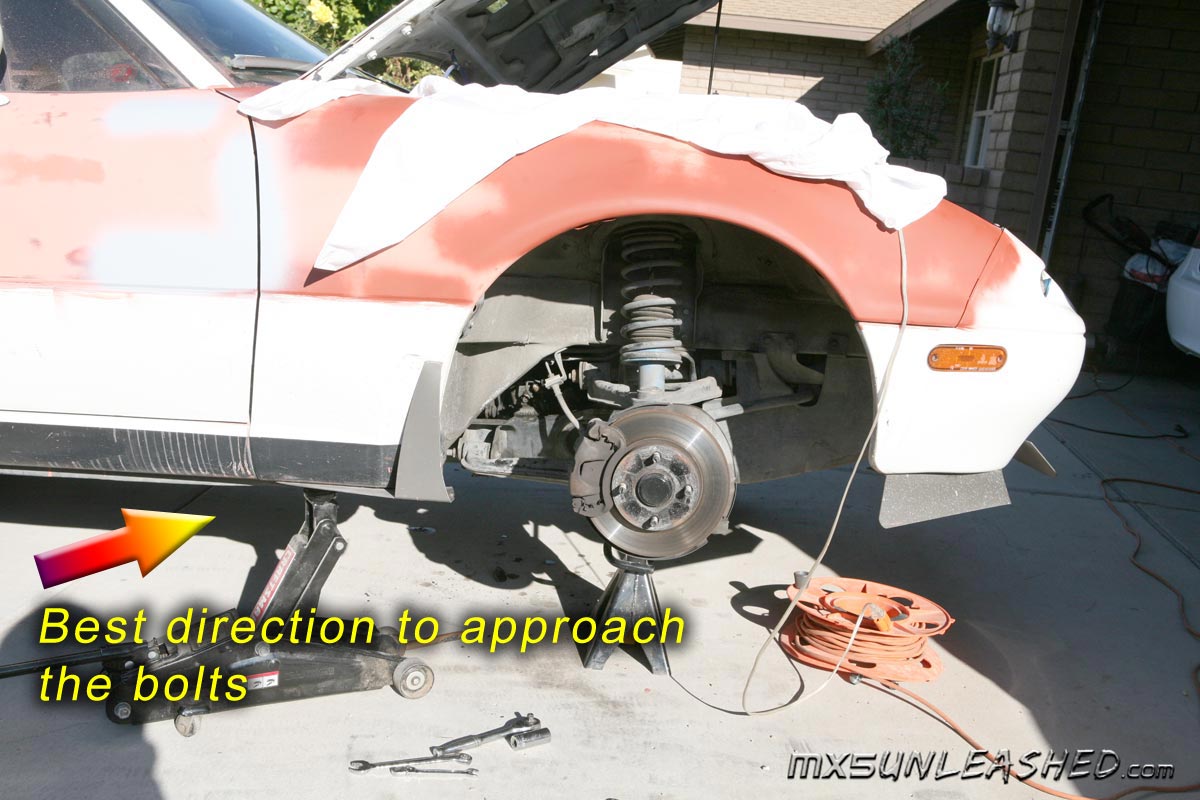
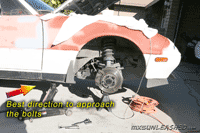
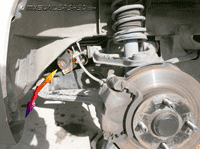
If you don't have a lift, jack up the passenger side and put a stand underneath (if you don't have jack or lift, then don't bother). Then take the wheel off. You're going to have to get to the screws from behind and underneath the car. |
 |
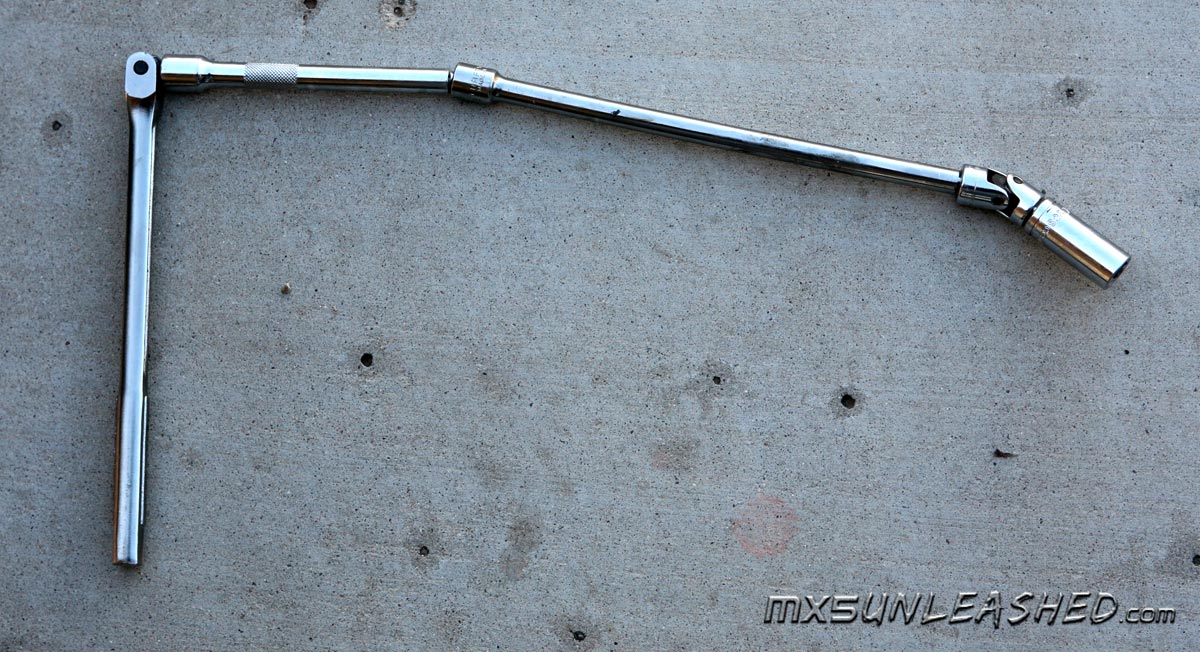
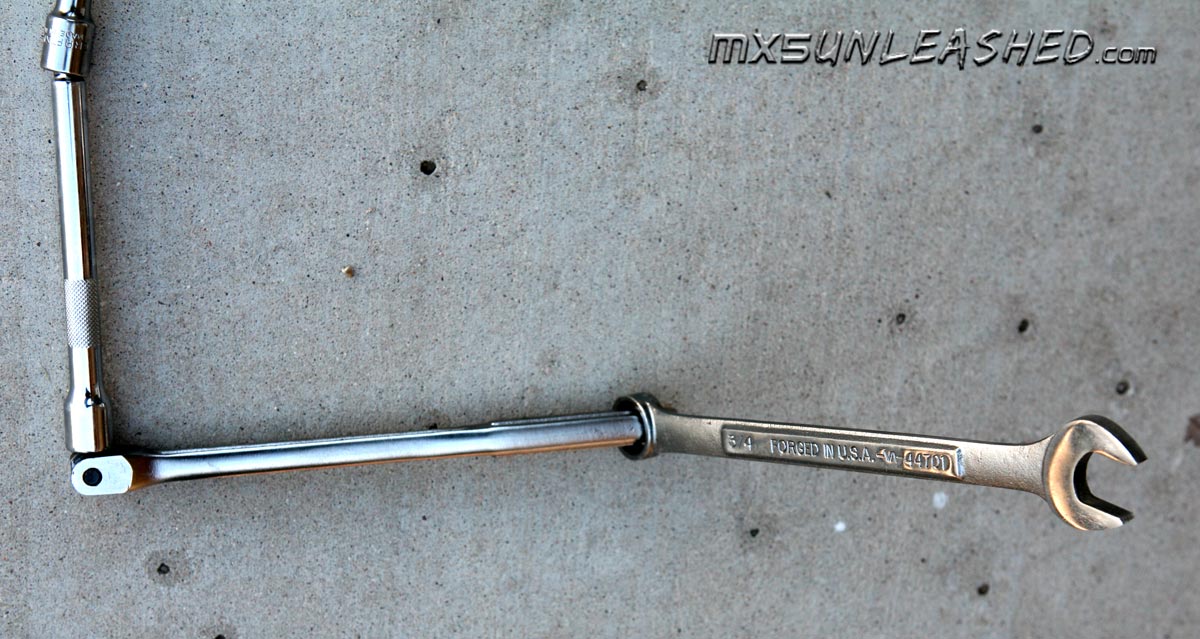
Here are a few tools you will need.. |
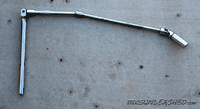
Long extension with a swivel to reach the screws. |
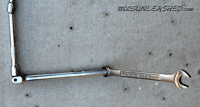
Here is a neat trick to get extra leverage on those seized screws. |
The Procedure
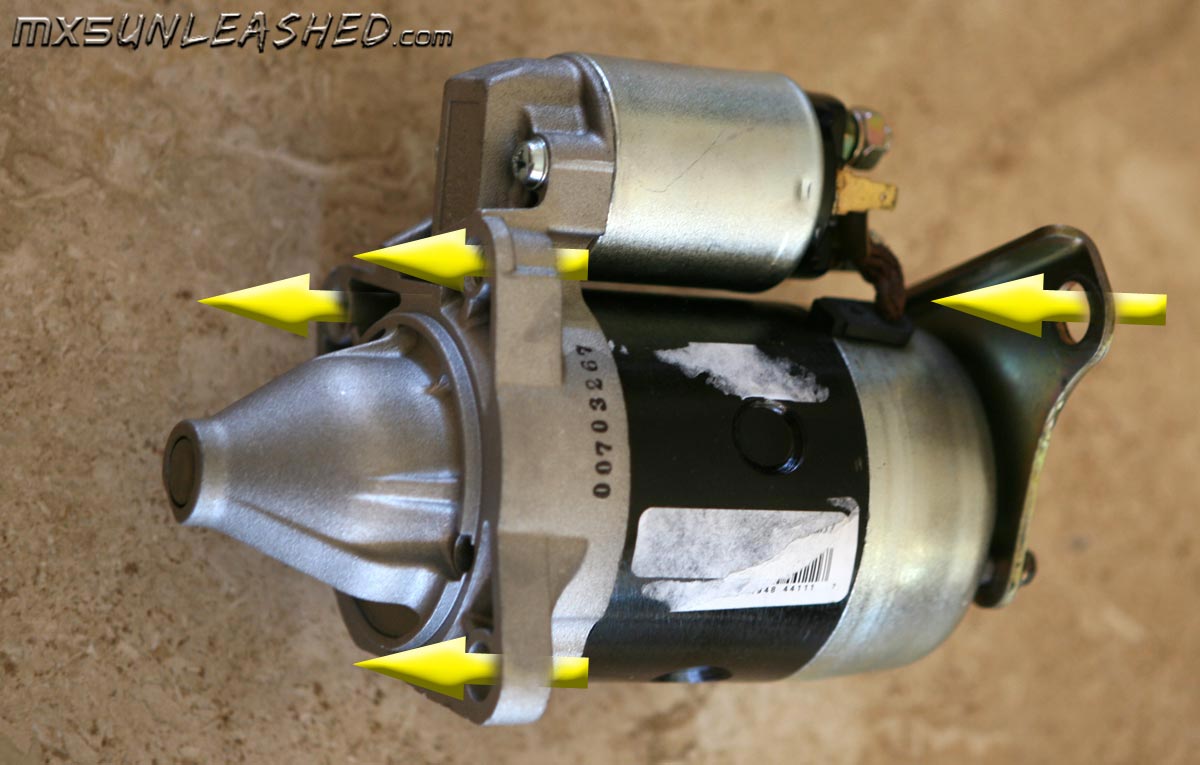
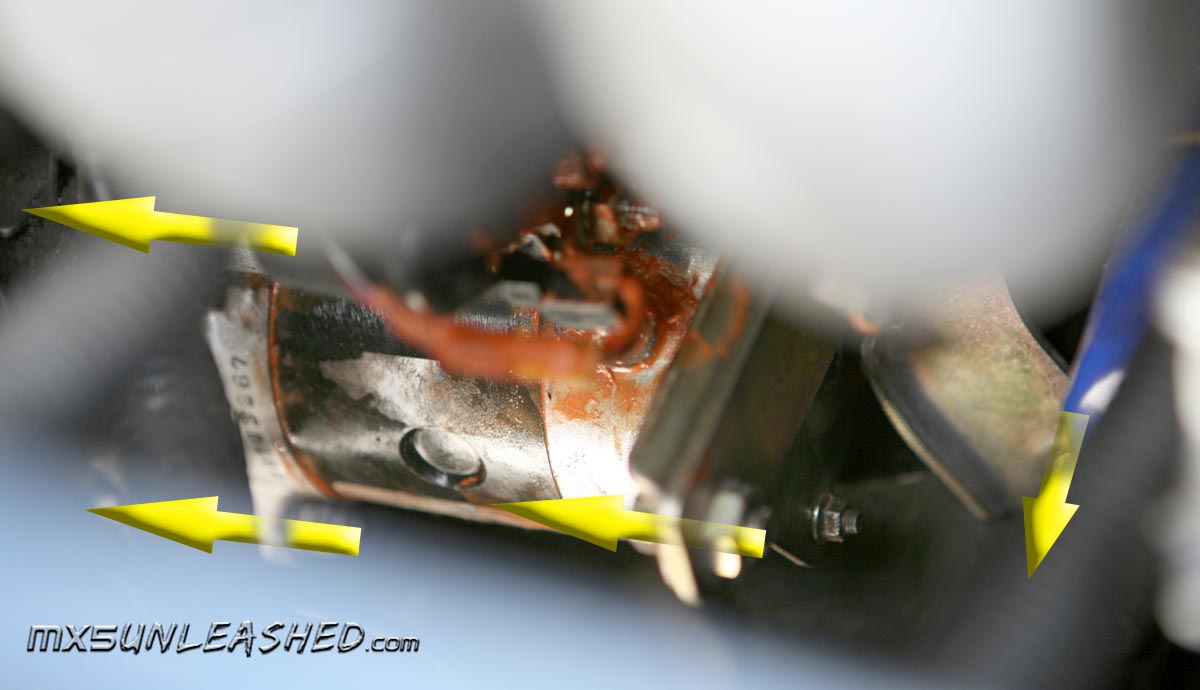
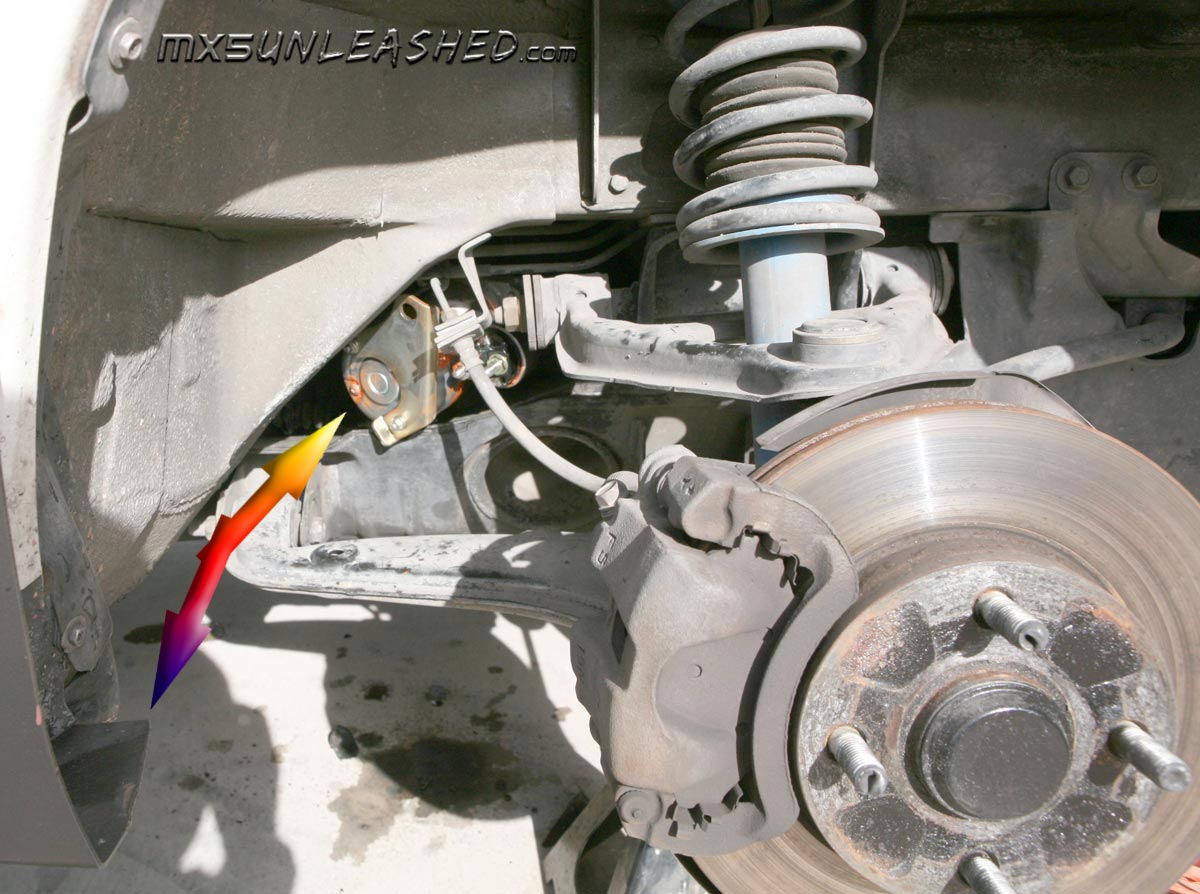
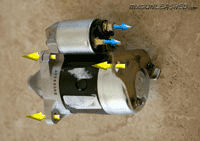
First, disconnect the starter (blue arrows). Then there are three bolts that hold the face of the starter to the transmission and one in the back that is holding the bracket. First remove the bolts by crawling under the car and using the extensions. |
 |
|

Remove the bracket after you remove the three main bolts, it makes easer to pull the starter out |
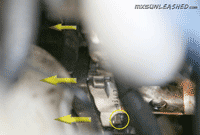
Make sure to put a wrench on this bolt so it does not spin while you trying to get the screw out. |
Pulling Out and Replacing
Once you did the back-breaking, knuckle-busting job of removing the screws, wiggle out the starter butt first. Then go get it checked at the store and hope that you did all this work because it really is busted. Then wiggle the new one in face first. If you are doing it by yourself, it helps to screw in the bracket next, it will help align the other screws. |
 |
|
The screw with the bolt you should be able to put in with your fingers, and if you're dexterous the second one too, but the third one I just used the wrench with extensions but it is a bit tricky because there is a bracket that you have to put the screw through it. Then tighten everything up and connect the wires, do a test start if it works put the wheel back on, lower the car and you're done.
This change was done on a Gen 1 car so if anyone has any comments on Gen 2 and especially Gen 3 cars, let me know and Contact Me here |
|
|