Intro
First of all, my car is more for fun and some racing, so I do not care much for car show quality stuff. But you can use this idea and take it to the next level with carbon-fiber, nicer mountings, and so on. So if you're planning to build something similar, feel free to elaborate on it as much as you want to.
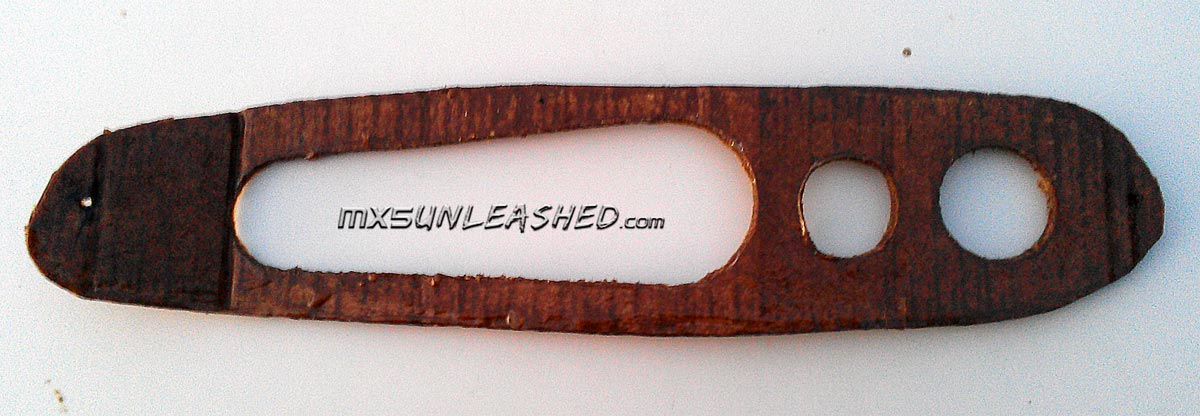
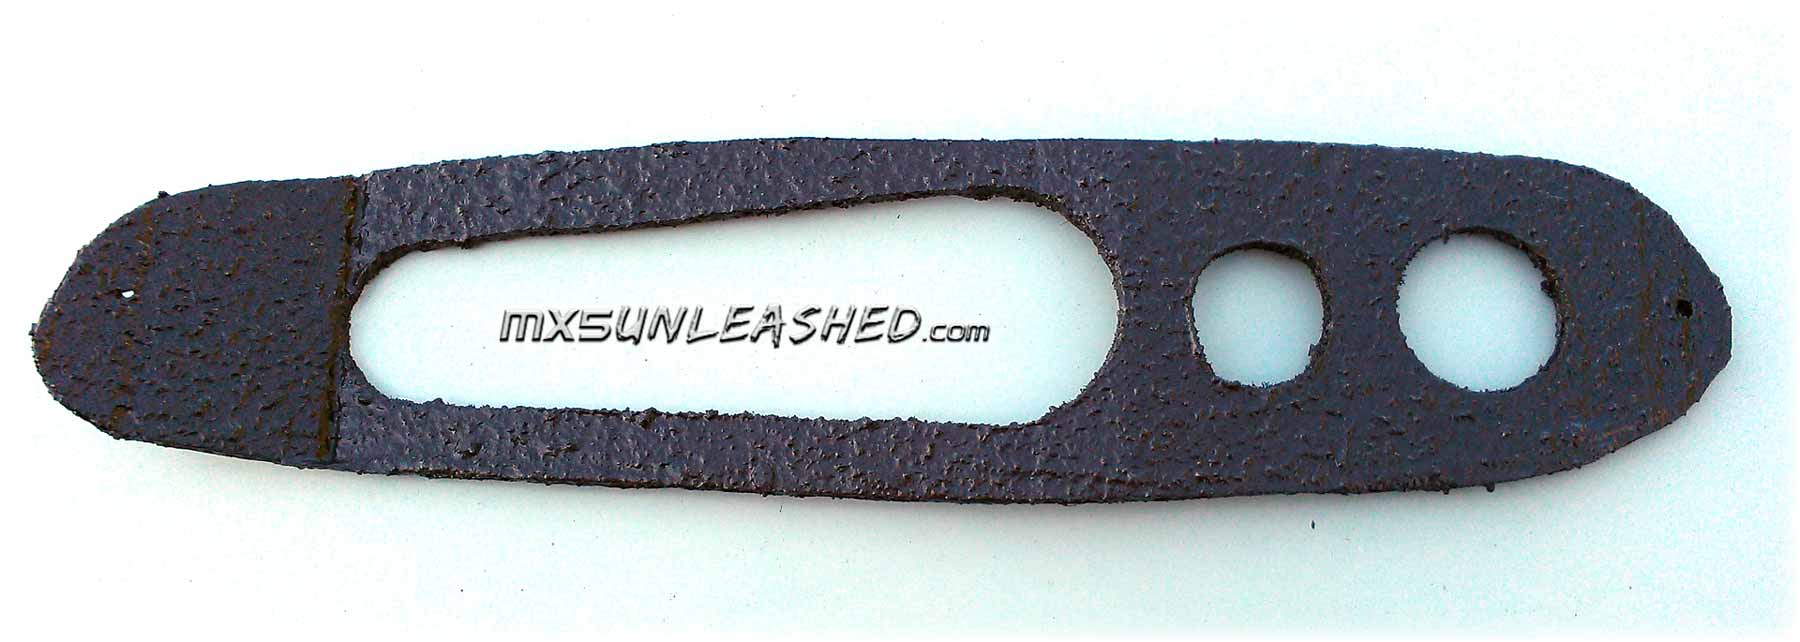
Using cardboard, I cut out a shape until it fit the signal light cavity. On the picture you can see a rough shape and size. Also, once you have one of them cut out, then just trace it and cut one out for the other side. |
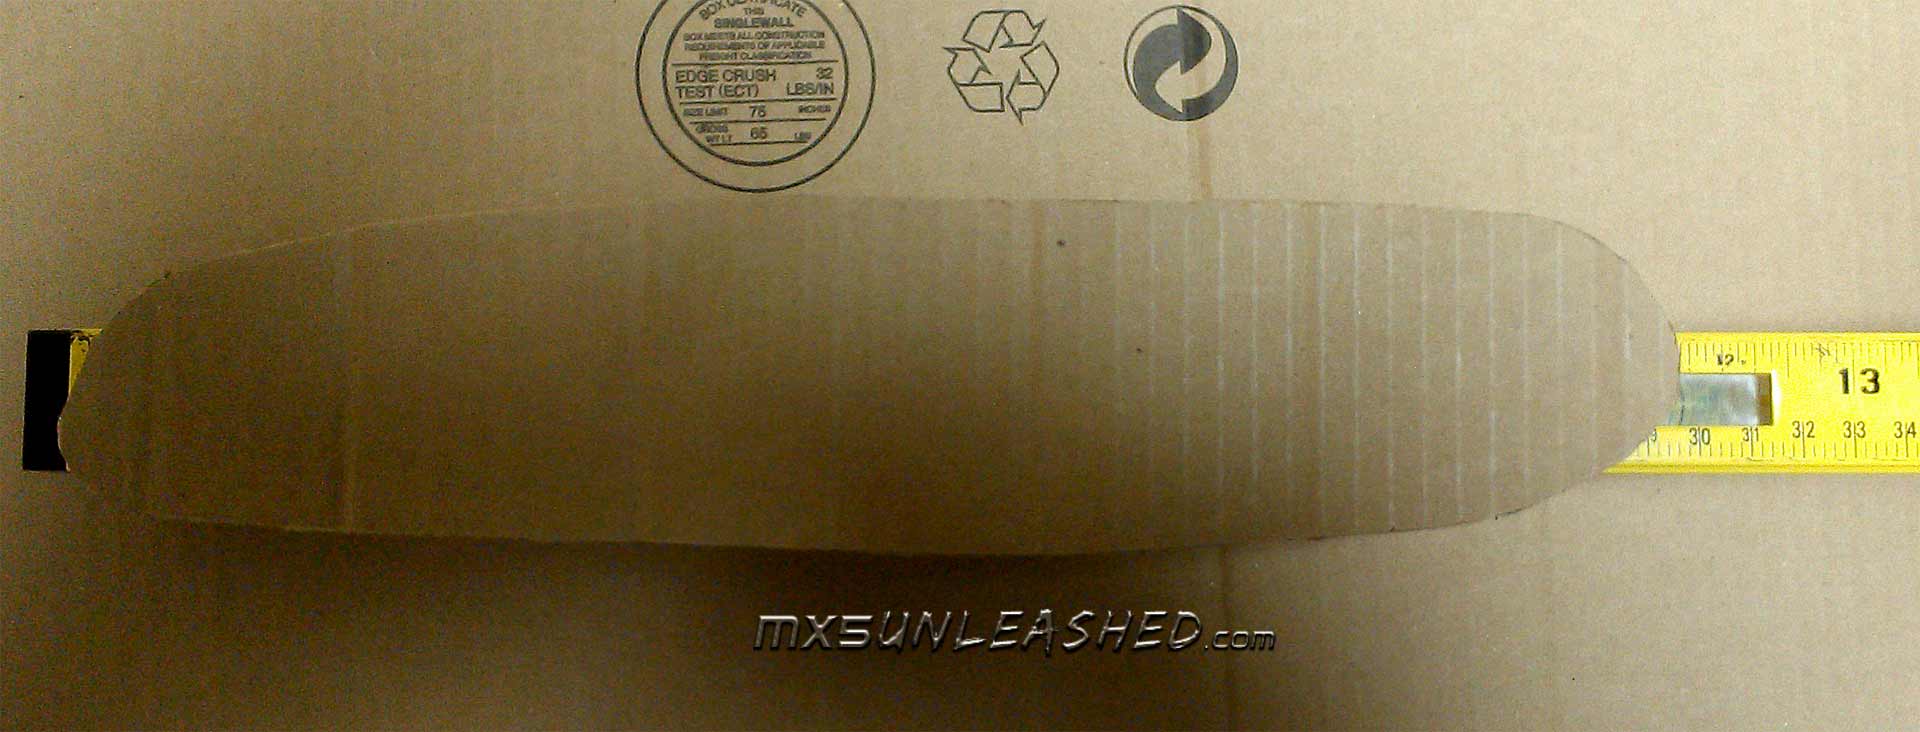
click to enlarge |
Then fit the cardboard in and mount it with screws. |
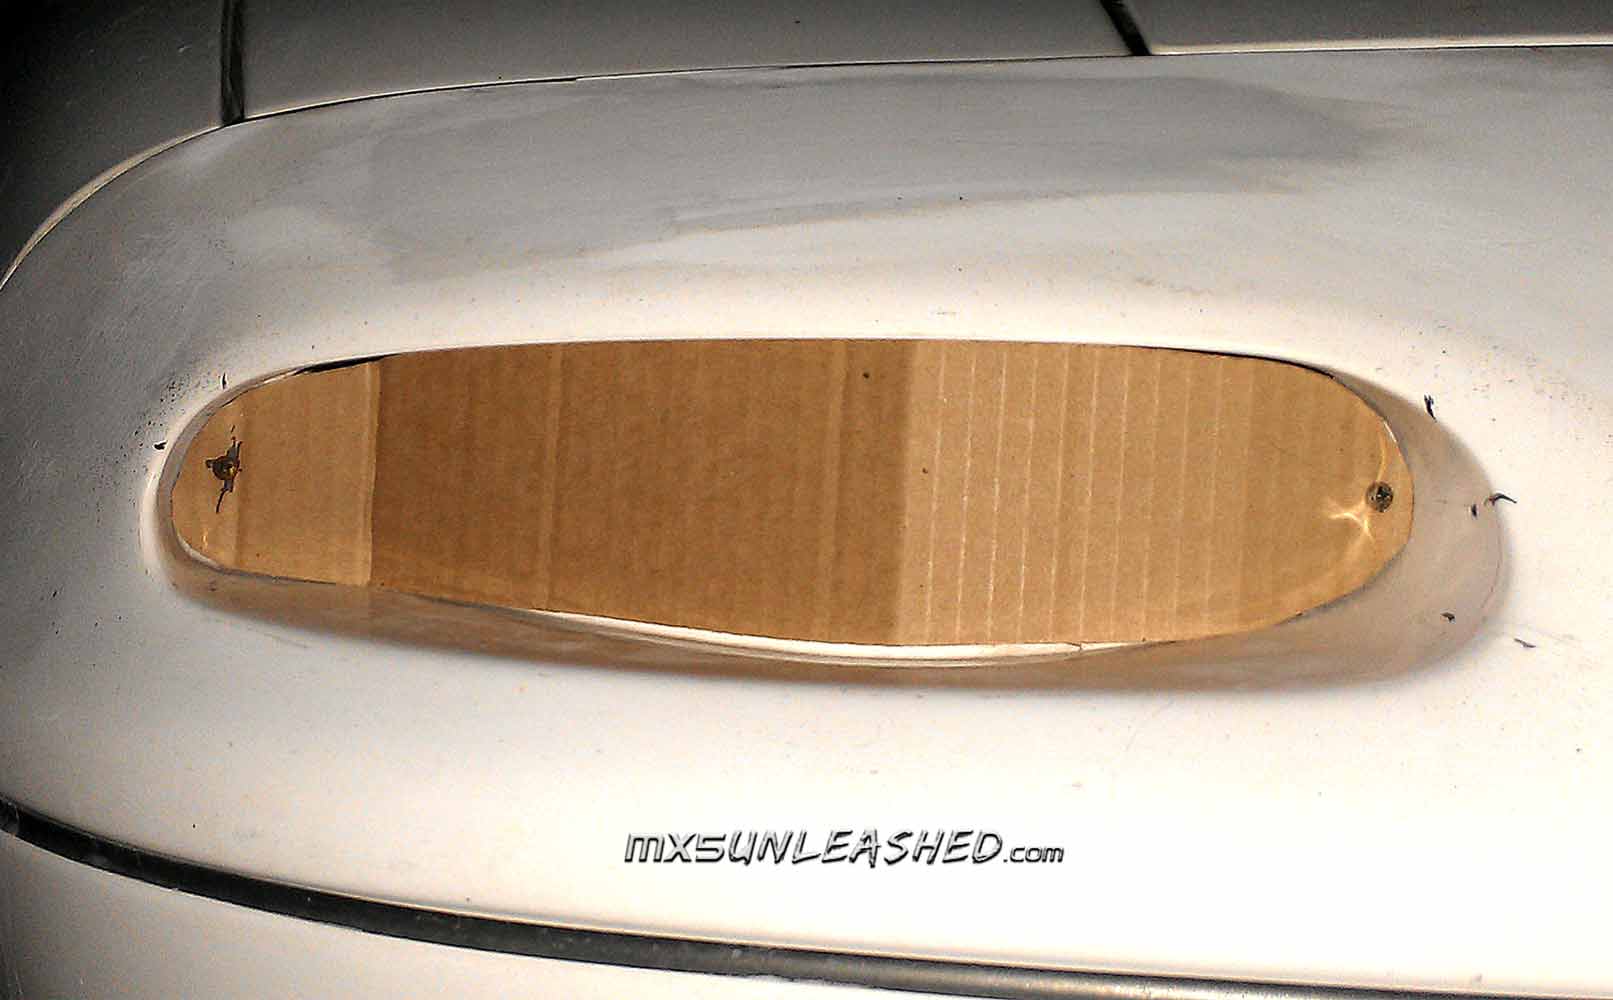
click to enlarge |
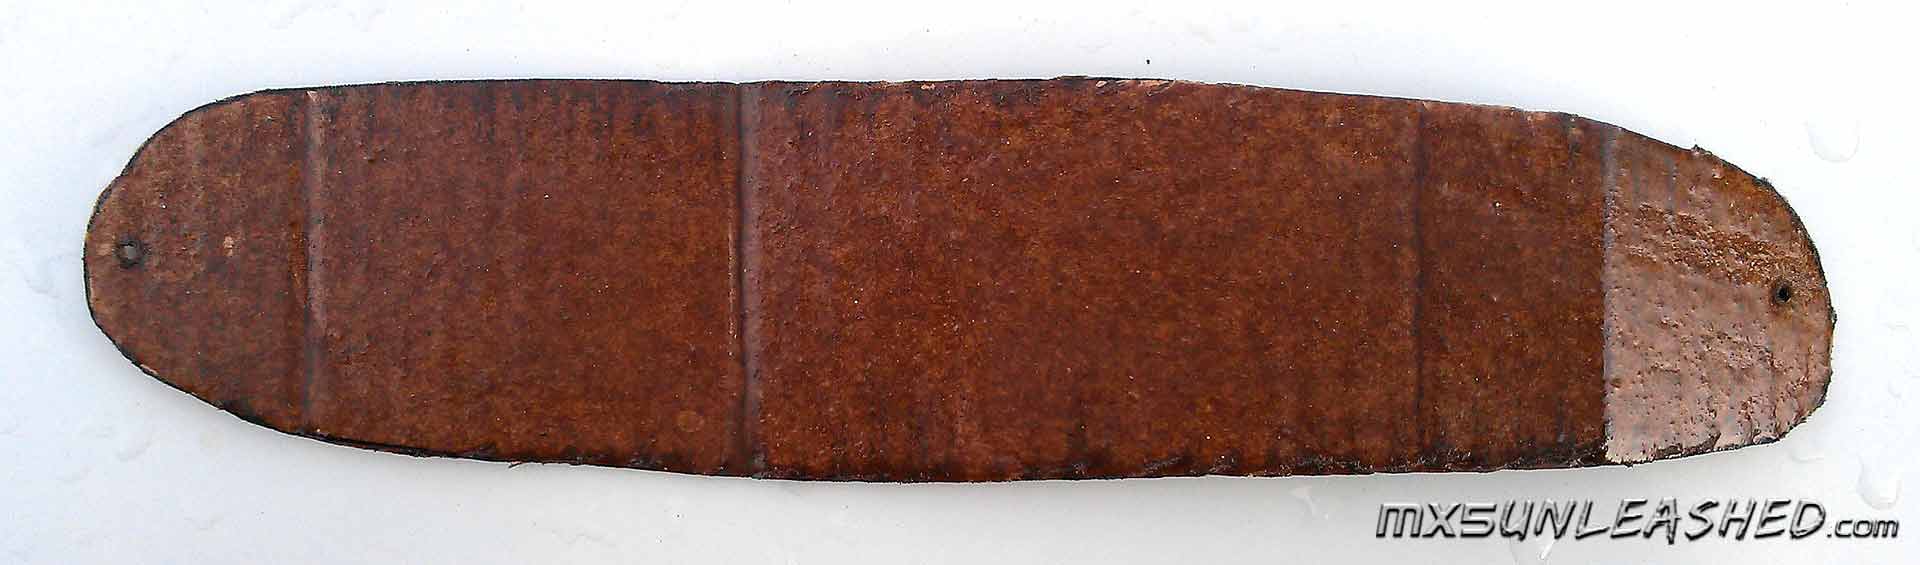
Using fiberglass resin, paint the inside area and let it dry. This will hold the shape of the cardboard. |
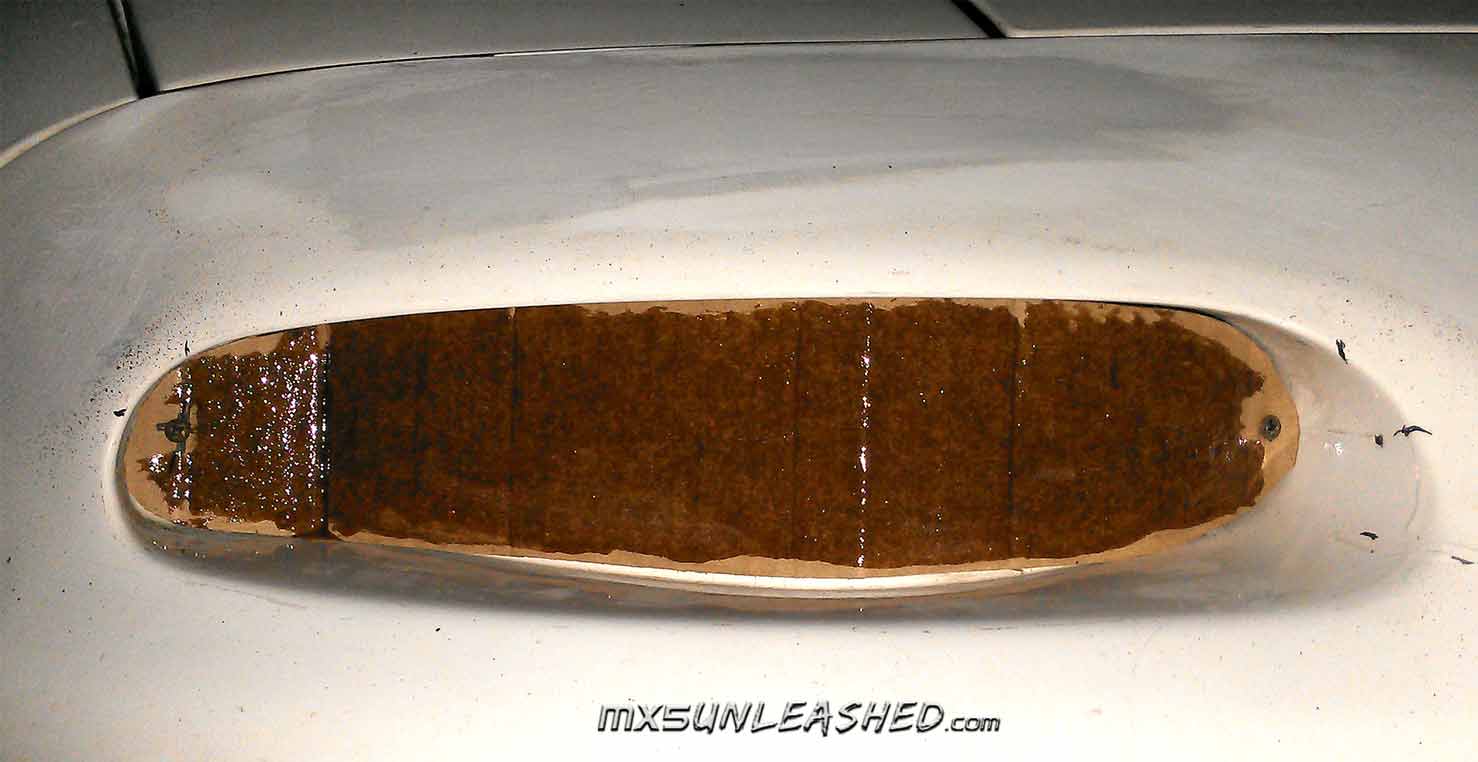
click to enlarge |
Once dry, pull it out and cover the rest with fiberglass resin. |
click to enlarge |
Now that the cardboard is hard you can drill out your holes as needed. |
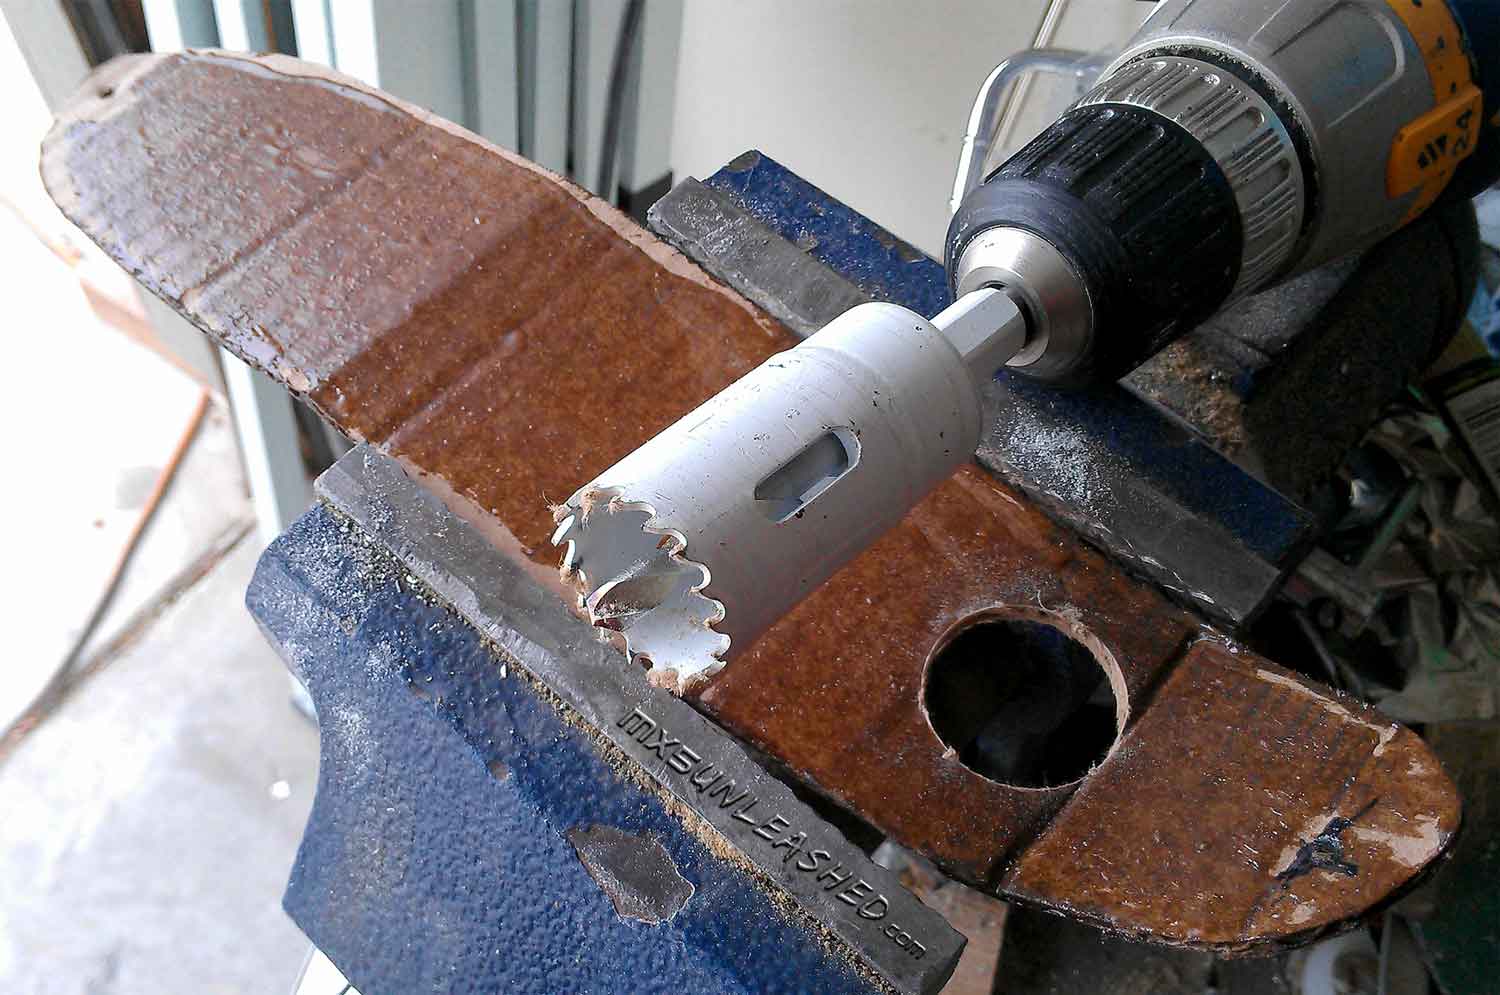
click to enlarge |
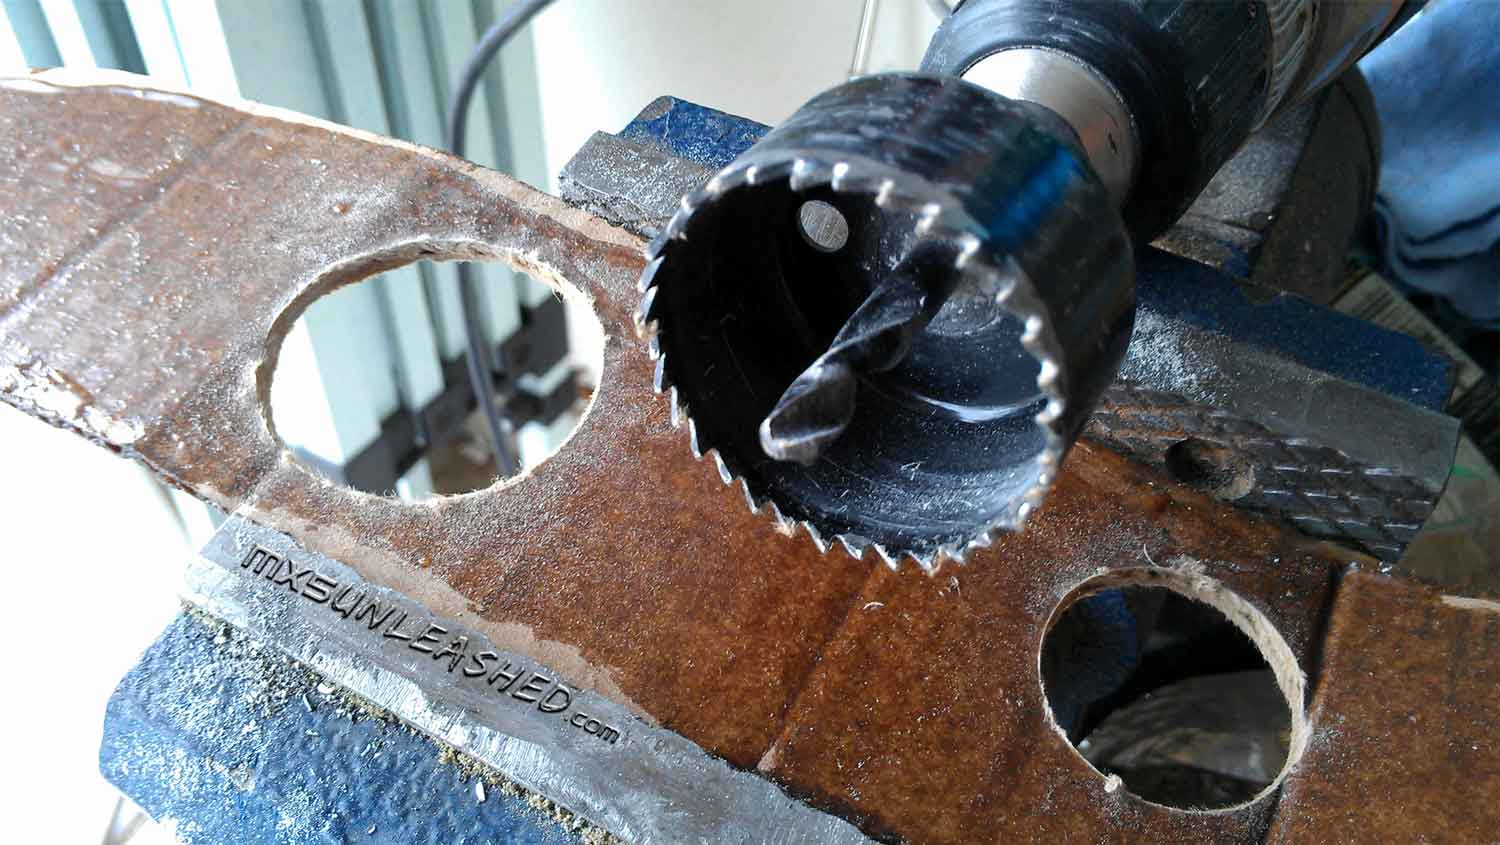
click to enlarge |
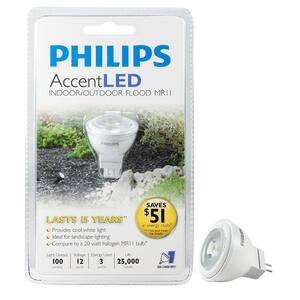
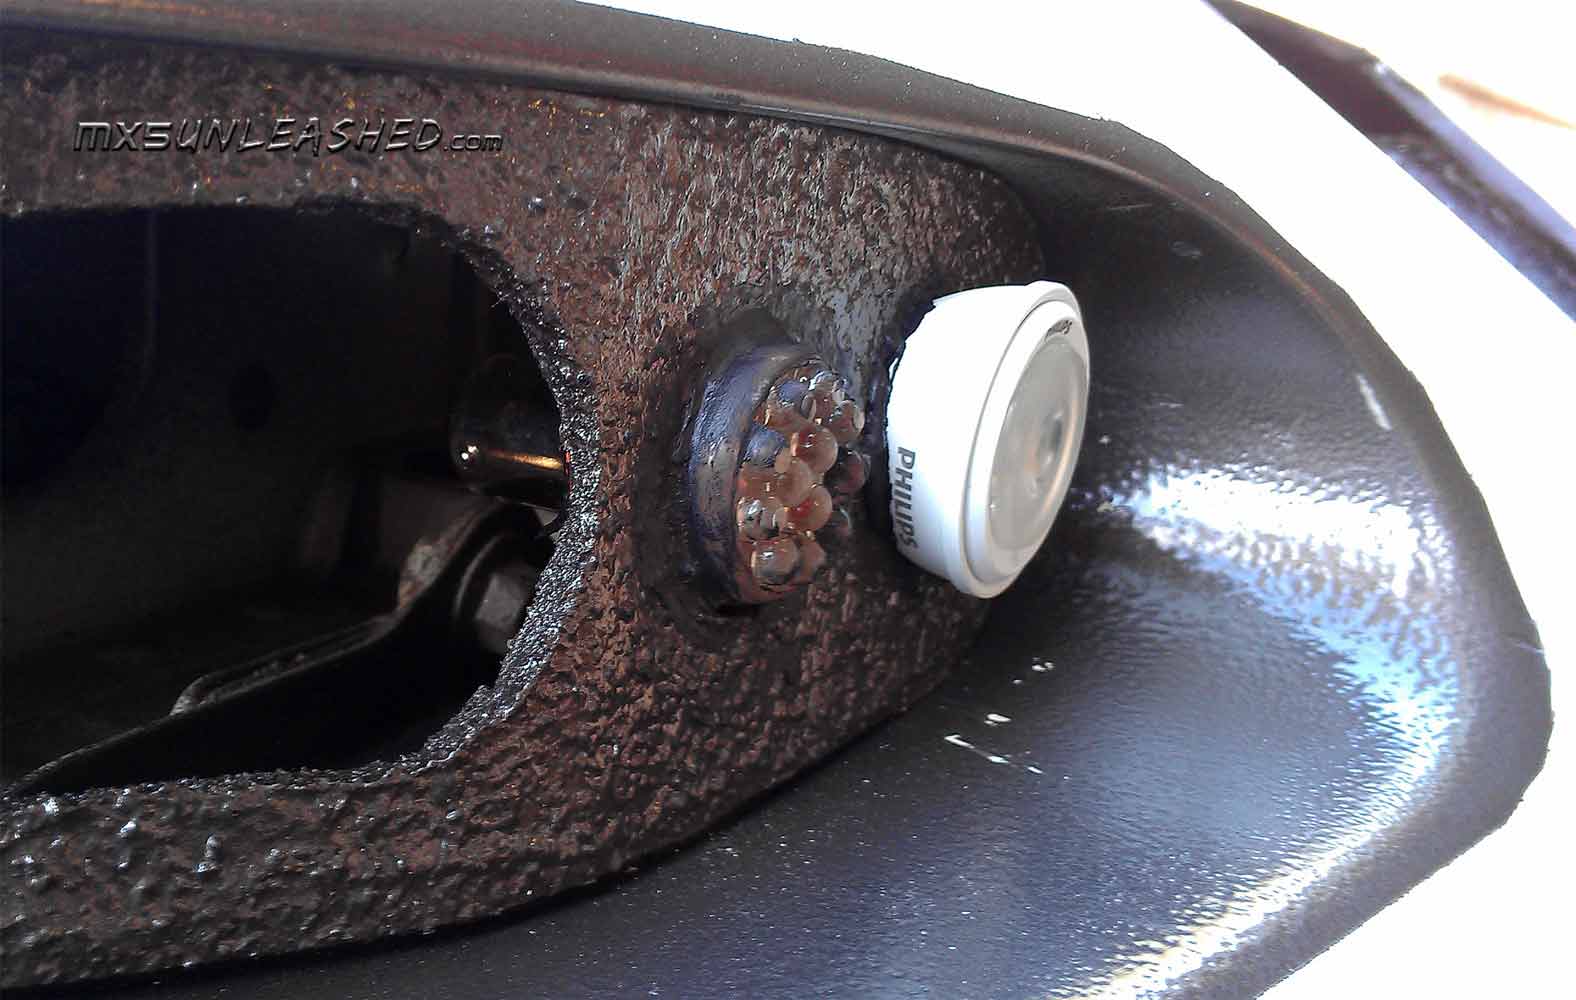
Do a test fit for the lights. Remember the white light will be pointed down slightly. ( I use 12V Philips LED for the white light, very bright) |
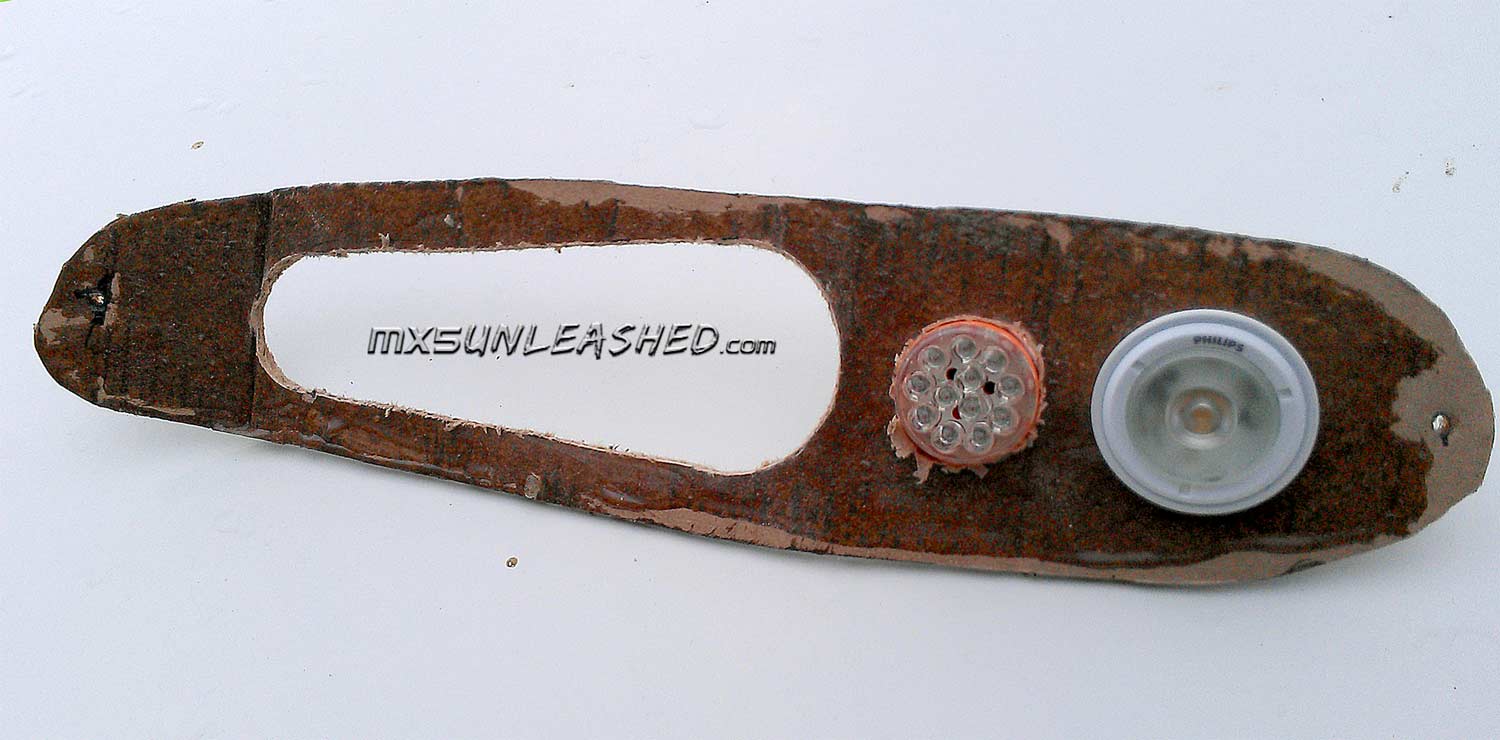
click to enlarge |
click to enlarge |
Now, add the final layer of fiberglass resin, making sure to do all the edges, which will make a structure ridged and waterproof. |
click to enlarge |
Then for style, I painted it with some texture paint. |
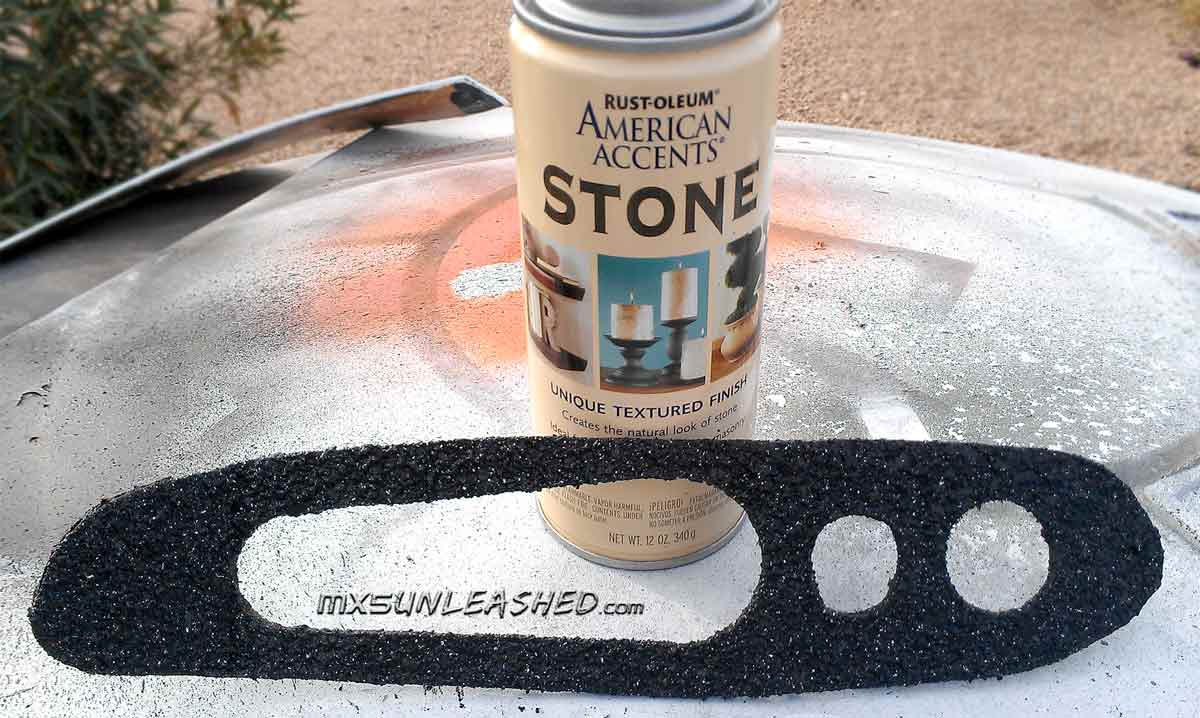
click to enlarge |
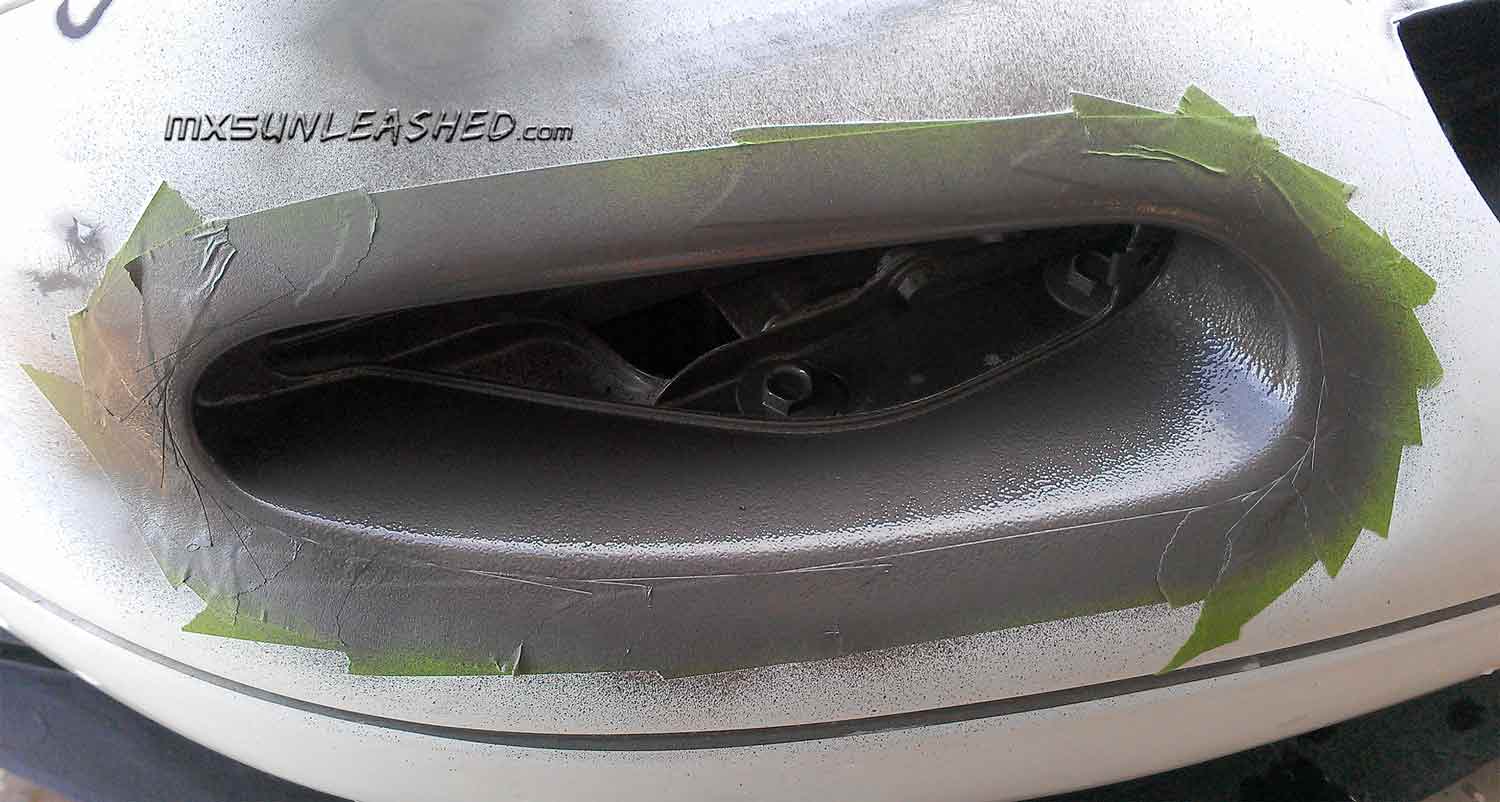
I wanted the light cavity to be painted, so its masked off and painted with a charcoal metallic color. I did not care about the rest of the bumper since it will be repainted.
|
click to enlarge |
Then add the final paint layer of charcoal metallic, same as the cavity.
|
click to enlarge |
Insert it in the cavity. Stick the lights in with caulk so you can align them. Let it dry overnight. Also, you may want to secure them with some tape during drying time.
|
click to enlarge |
Once dry, take it out, flip it, and put the mesh on, caulk it, and put the lights in place. And let it dry overnight until it's solid. If you want to be fancy, you can make some cool mounting, but I'll leave that to your imagination. |

click to enlarge |
I hooked up the blinker with a socket I had. I soldered the wires on, then covered them with some silicon for insulation. |
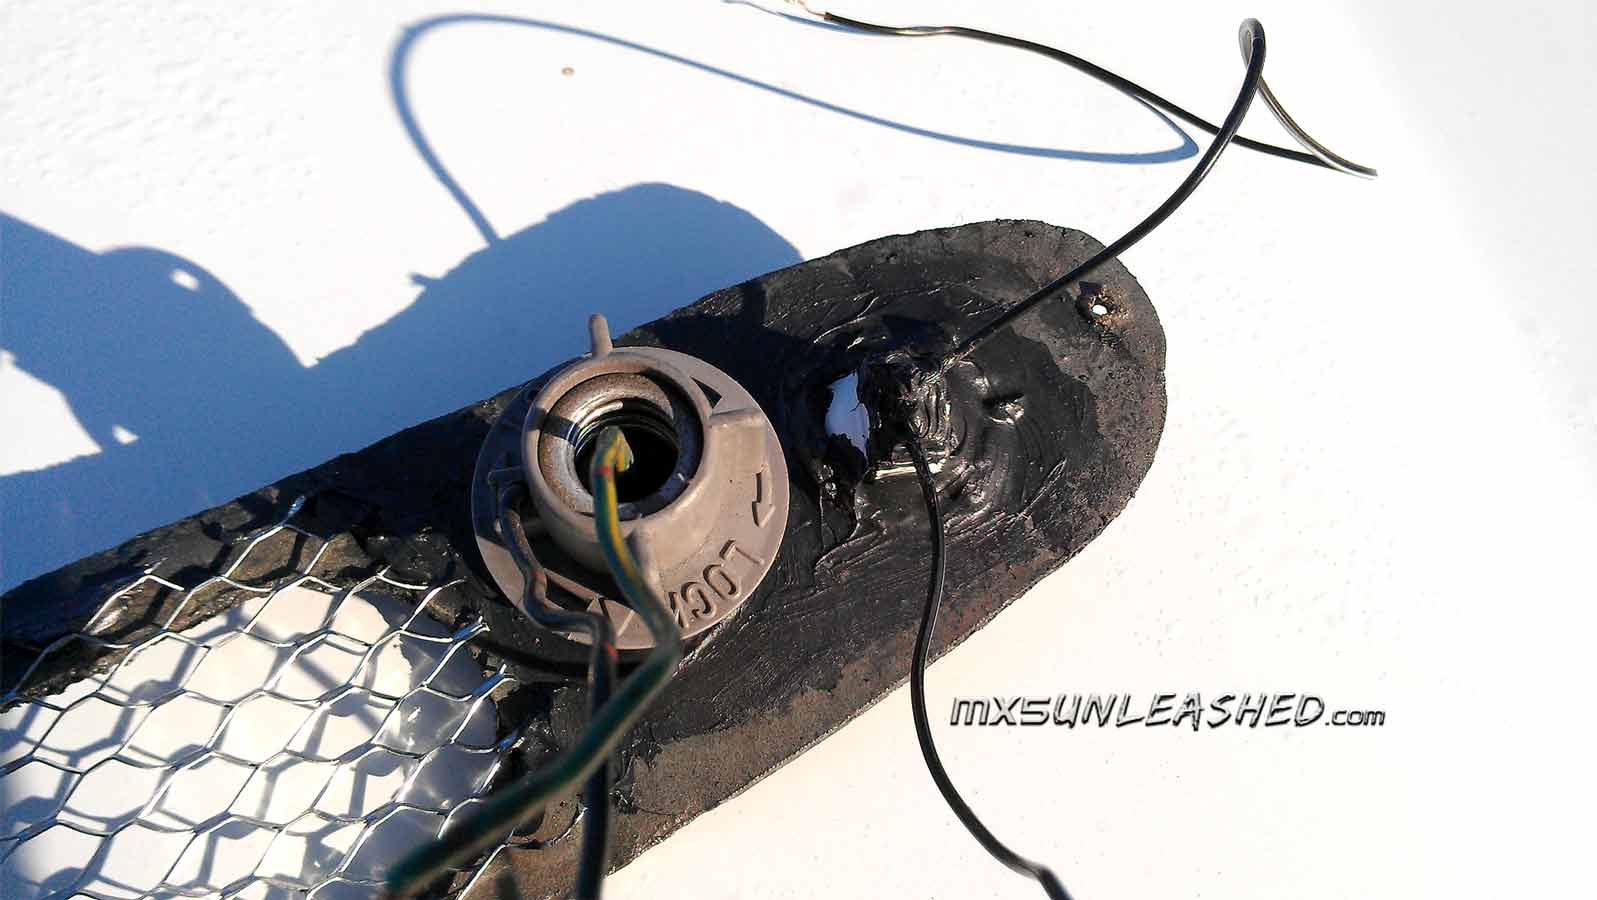
click to enlarge |
The LED strips are for the blinker and lights. I cut them to the length I liked, and attached them as you can see in the final photo. |
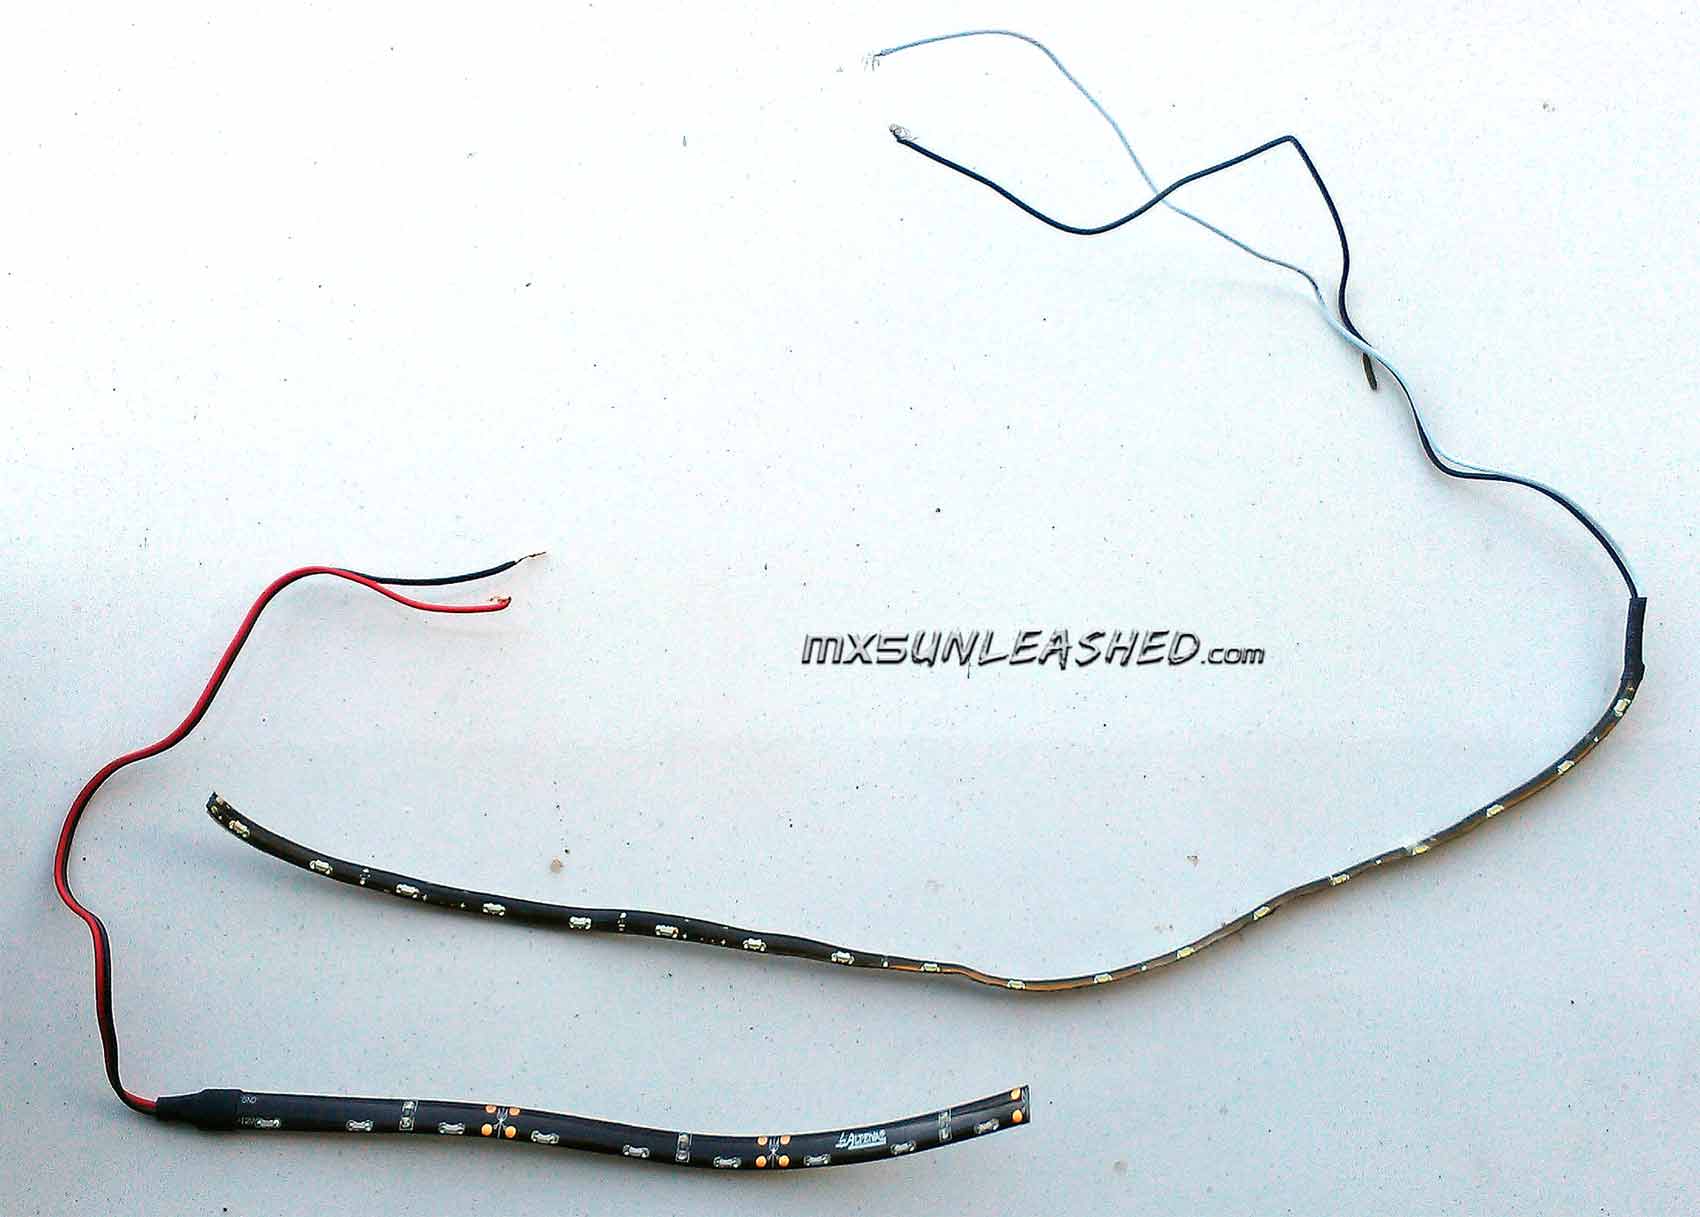
click to enlarge |
Then connect all the wiring, test it, insert, and screw it in. |
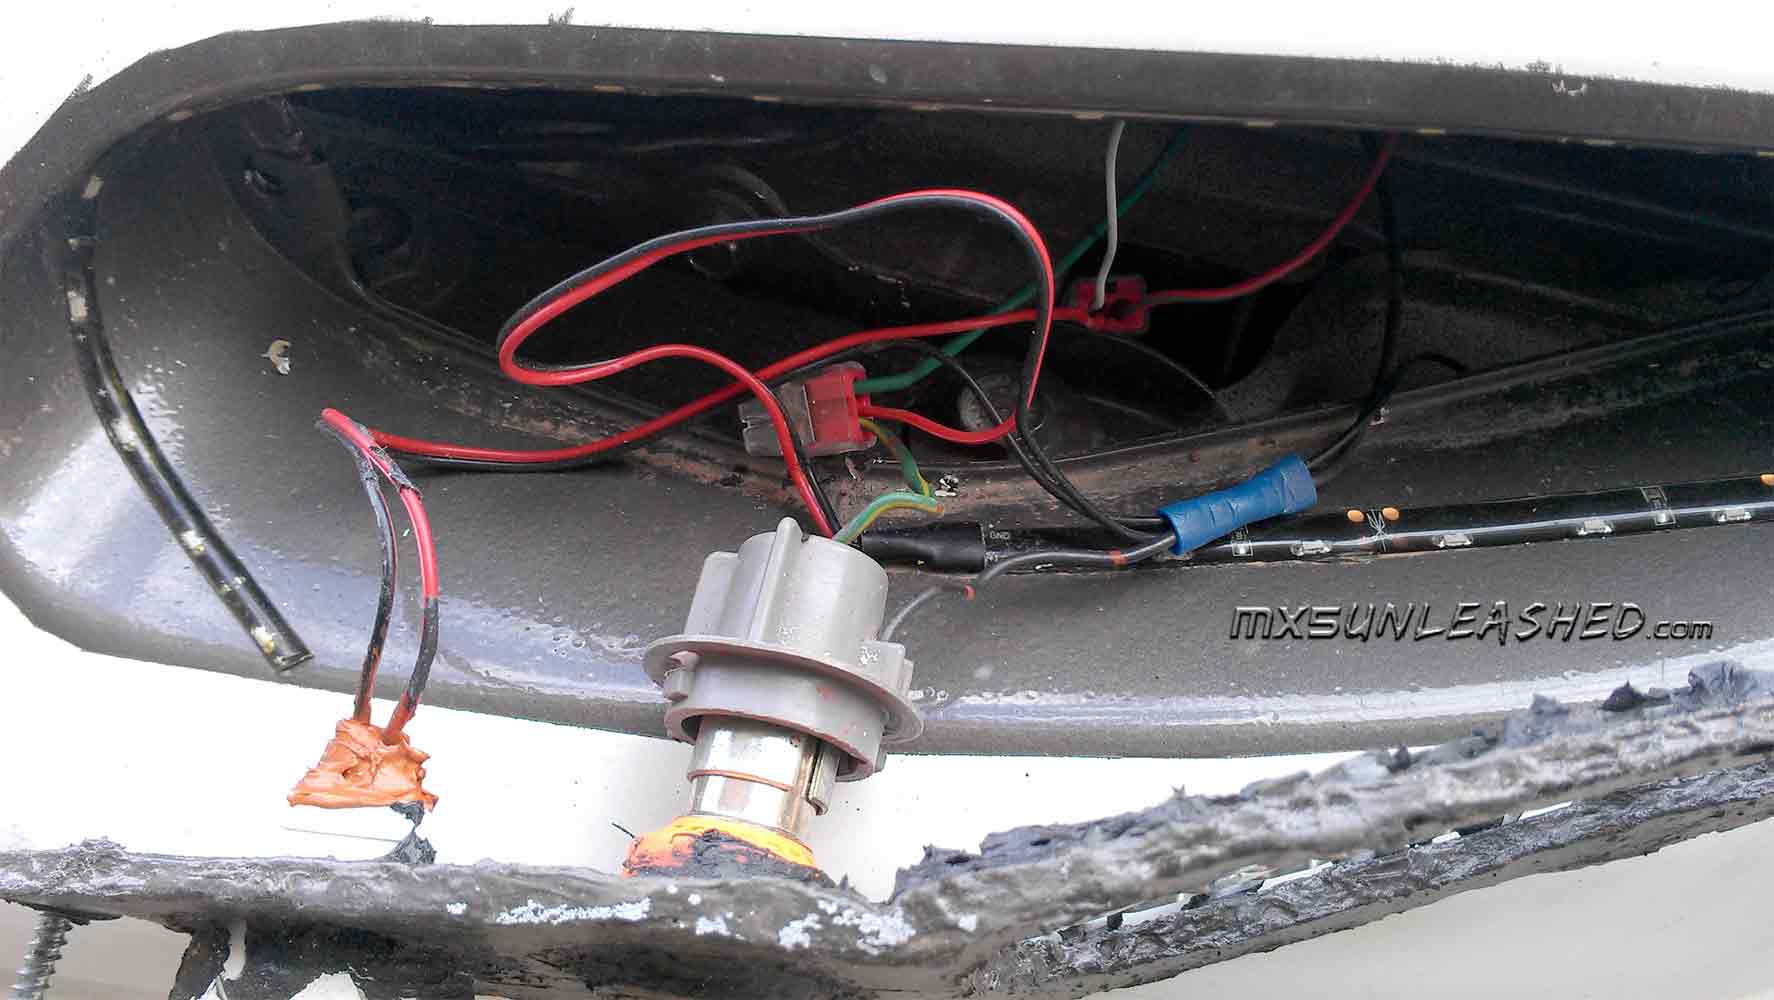
click to enlarge |
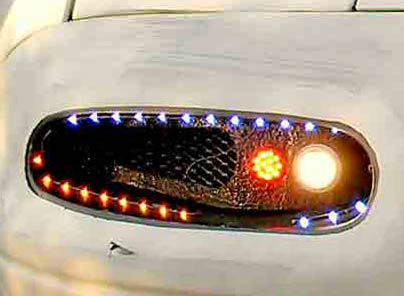
Lights and signals, on! |
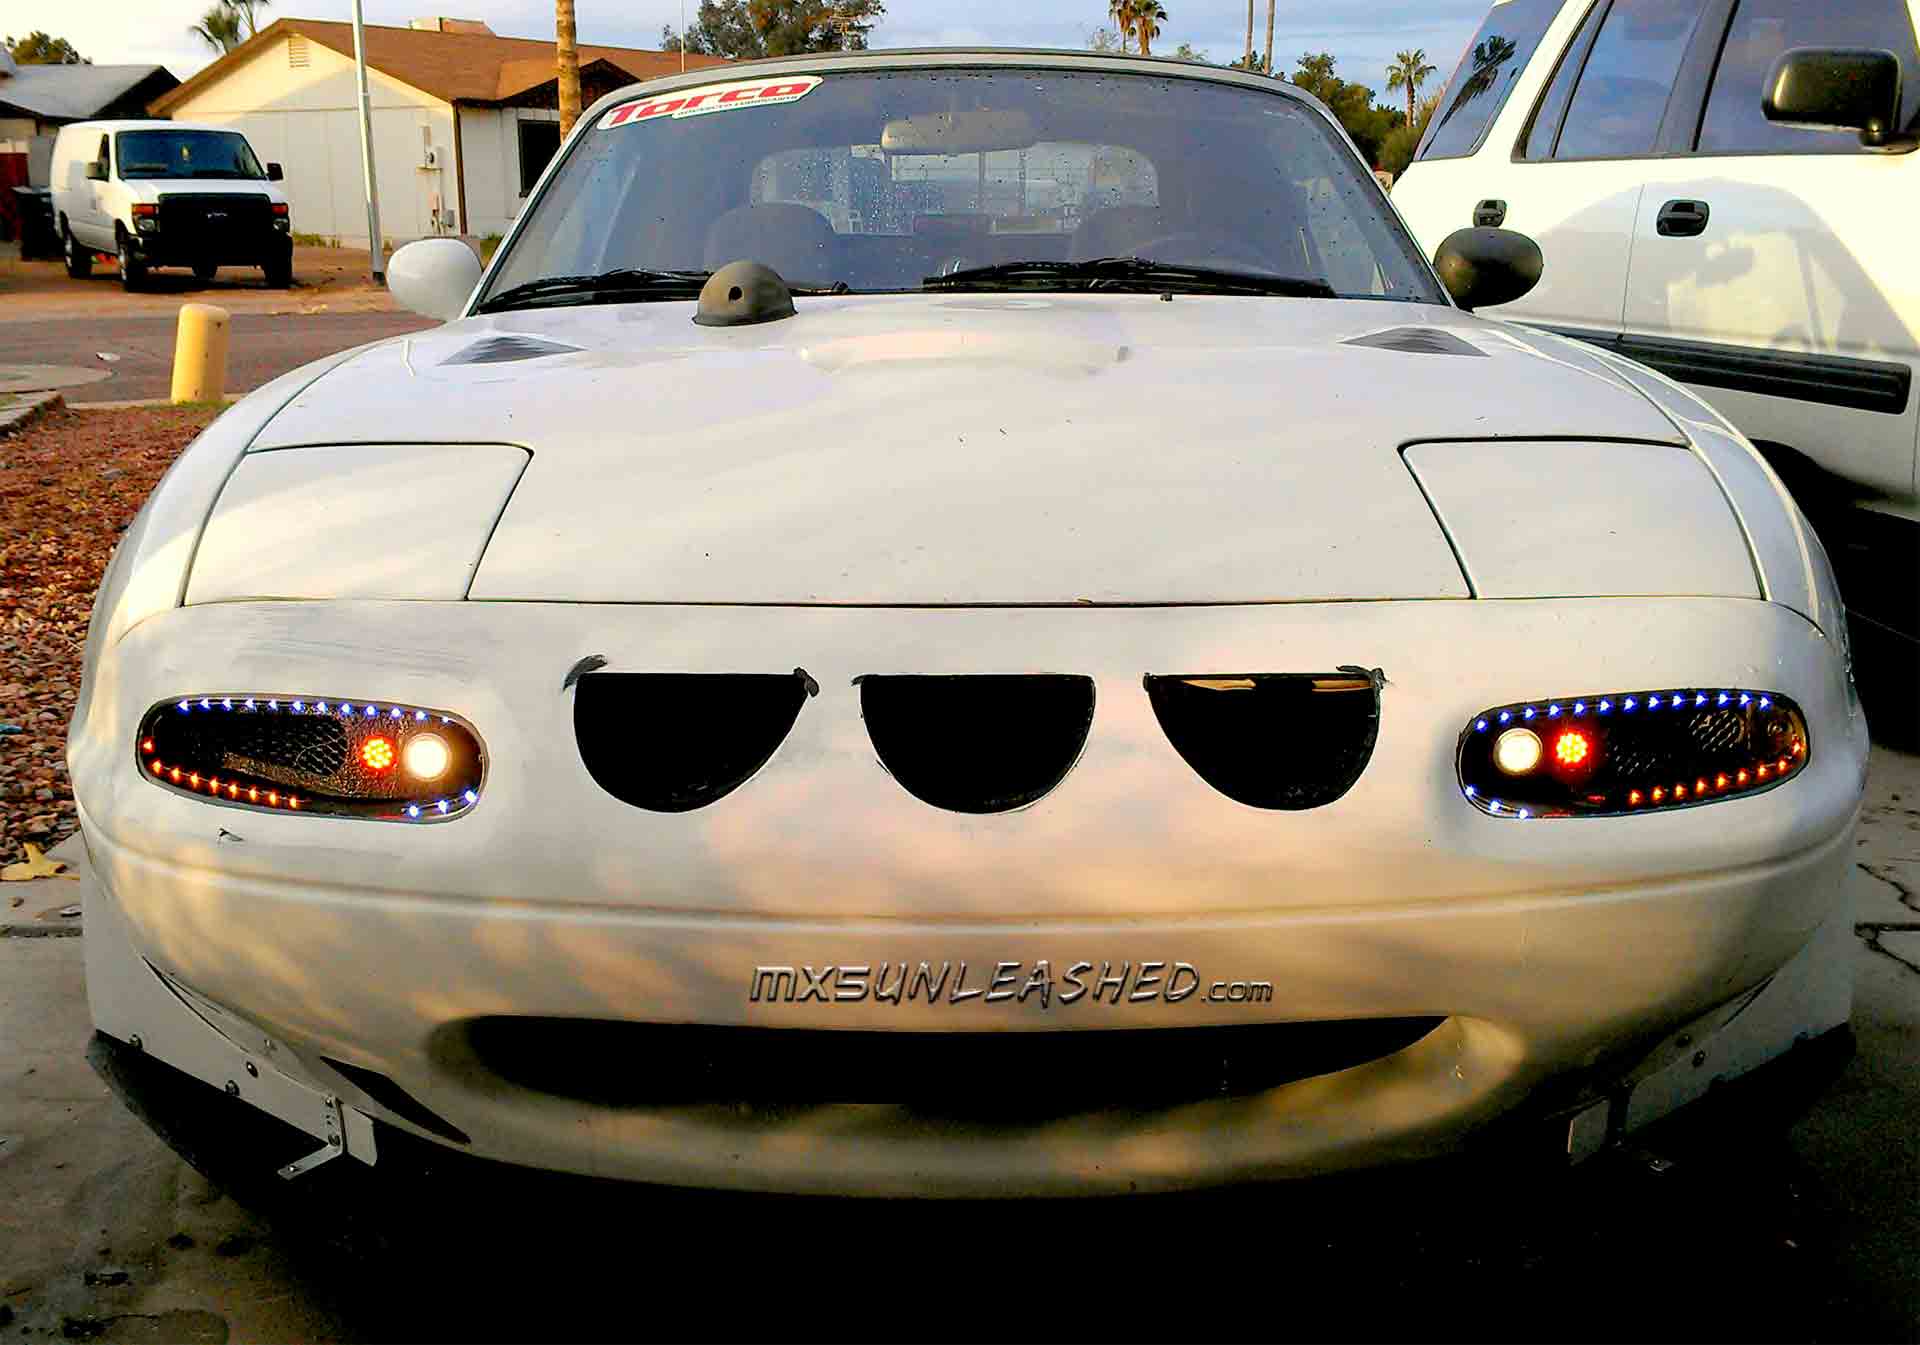
click to enlarge |
|